1. Go to Facebook Business Manager
Sign in to your Facebook Business Manager account.
Once logged in, a new tab will open, taking you directly to your Facebook Business Account dashboard.
Sign in to your Facebook Business Manager account.
Once logged in, a new tab will open, taking you directly to your Facebook Business Account dashboard.
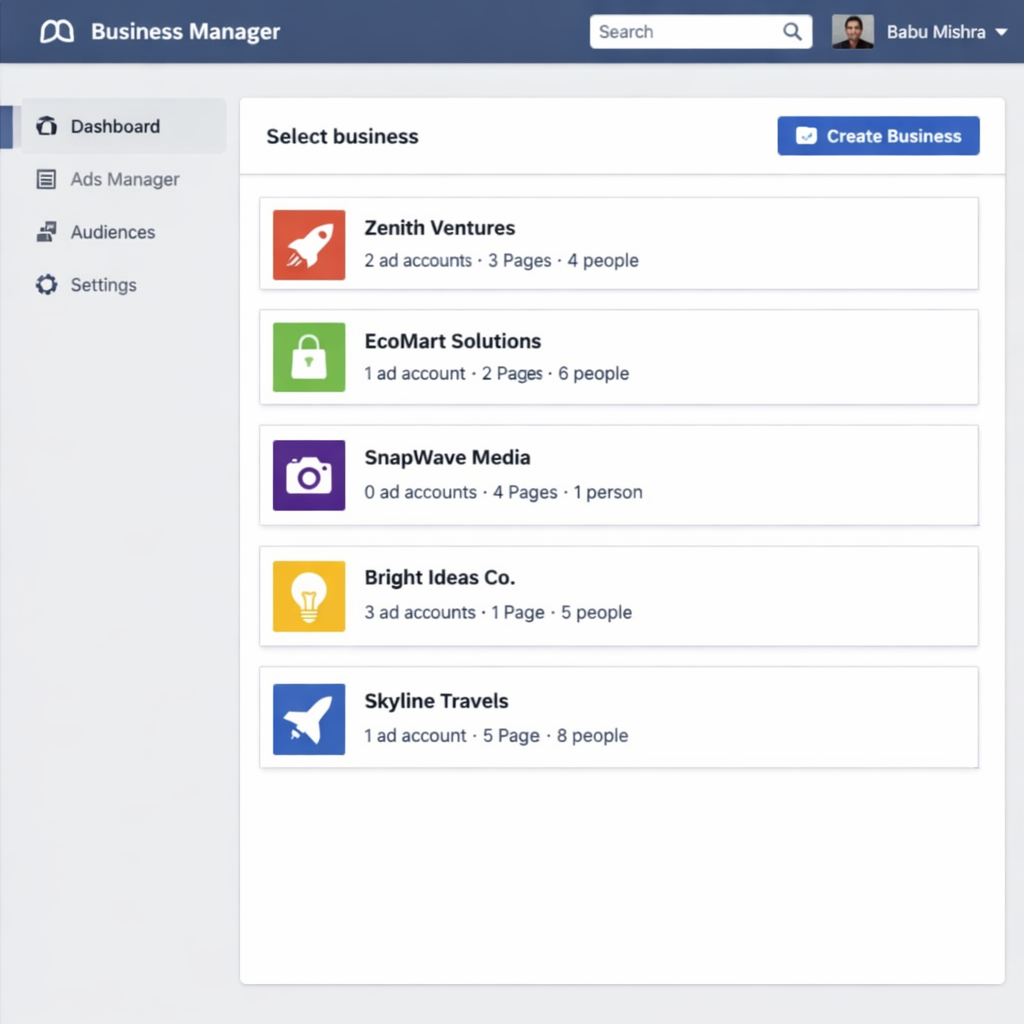
If you already have a Facebook Business Manager account, select the one you want to use for your WhatsApp Business API setup. If you don’t have one yet, you can easily create a new account. Note: If you only have one Facebook Business Manager account, your Business Settings page will open automatically.
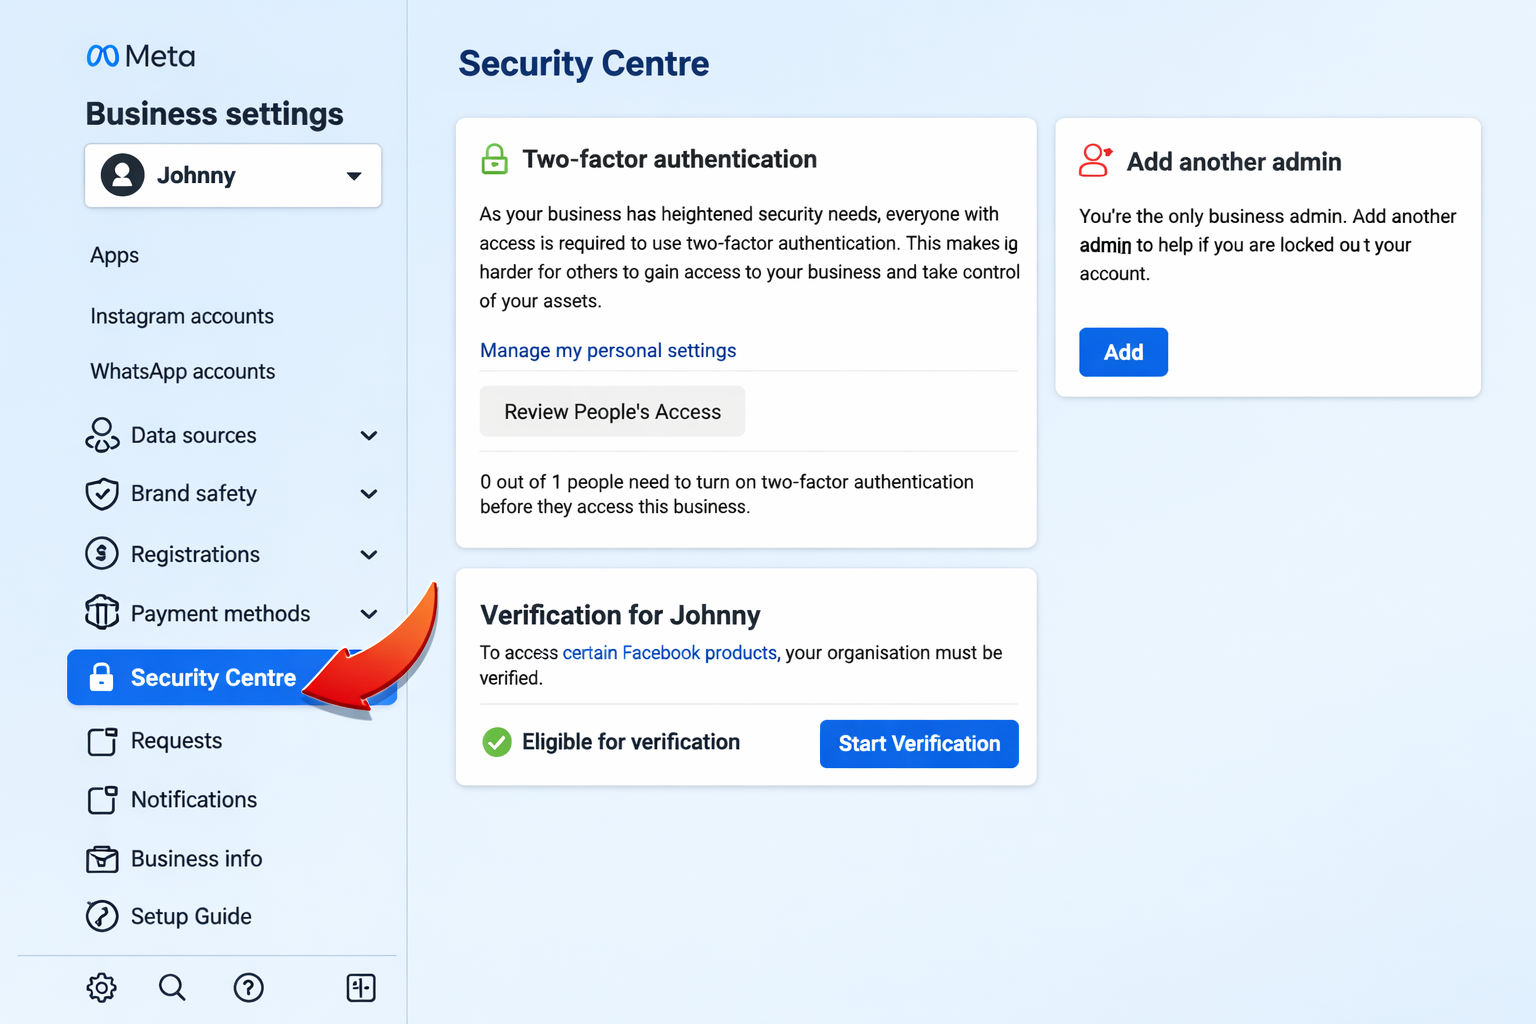
In Facebook Business Settings, navigate to the Security Center section. You can refer to the image on the left to easily locate it.
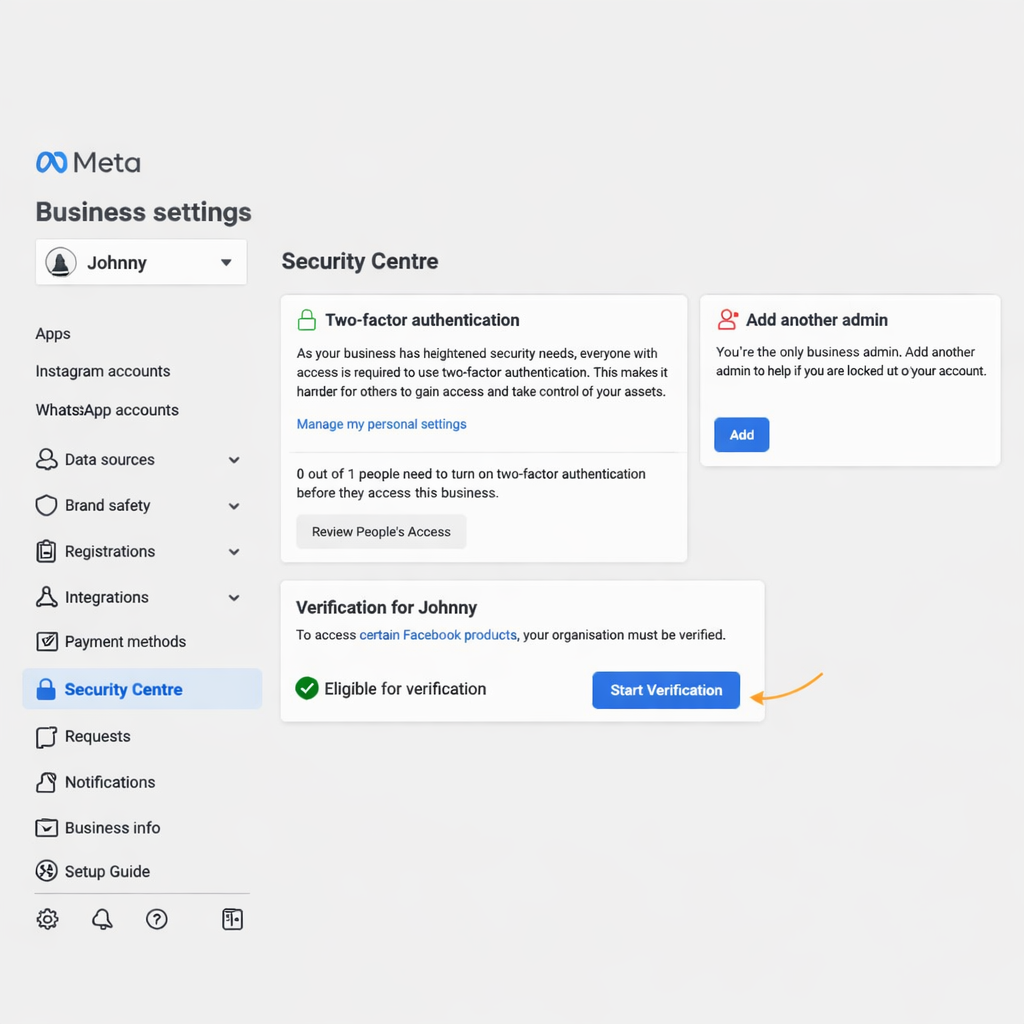
Go to the Security Center and click on the Start Verification button to begin the verification process. If the Start Verification button is missing or disabled (greyed out), you may need to complete a few required steps to activate it.
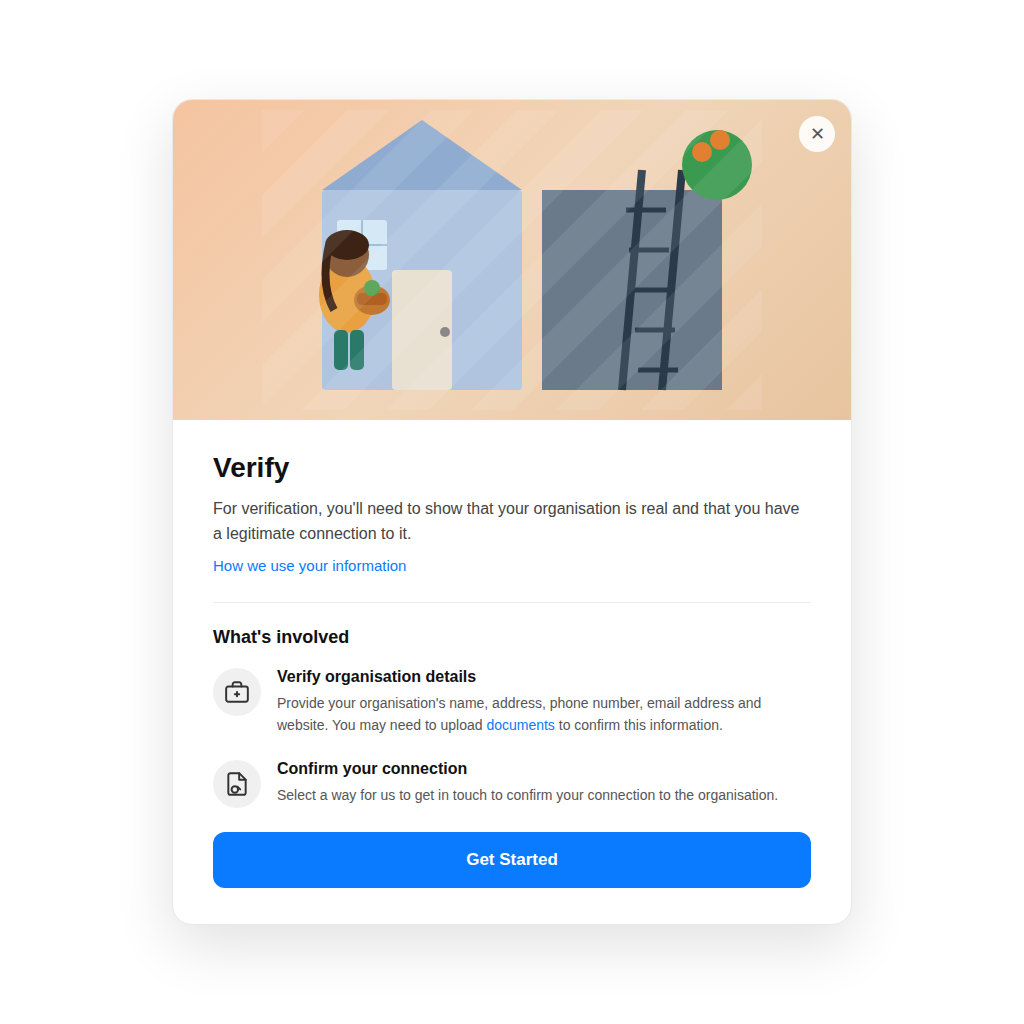
Once the Start Verification button is visible, click on it and then select ‘Get Started’ on the next screen, as shown in the image.
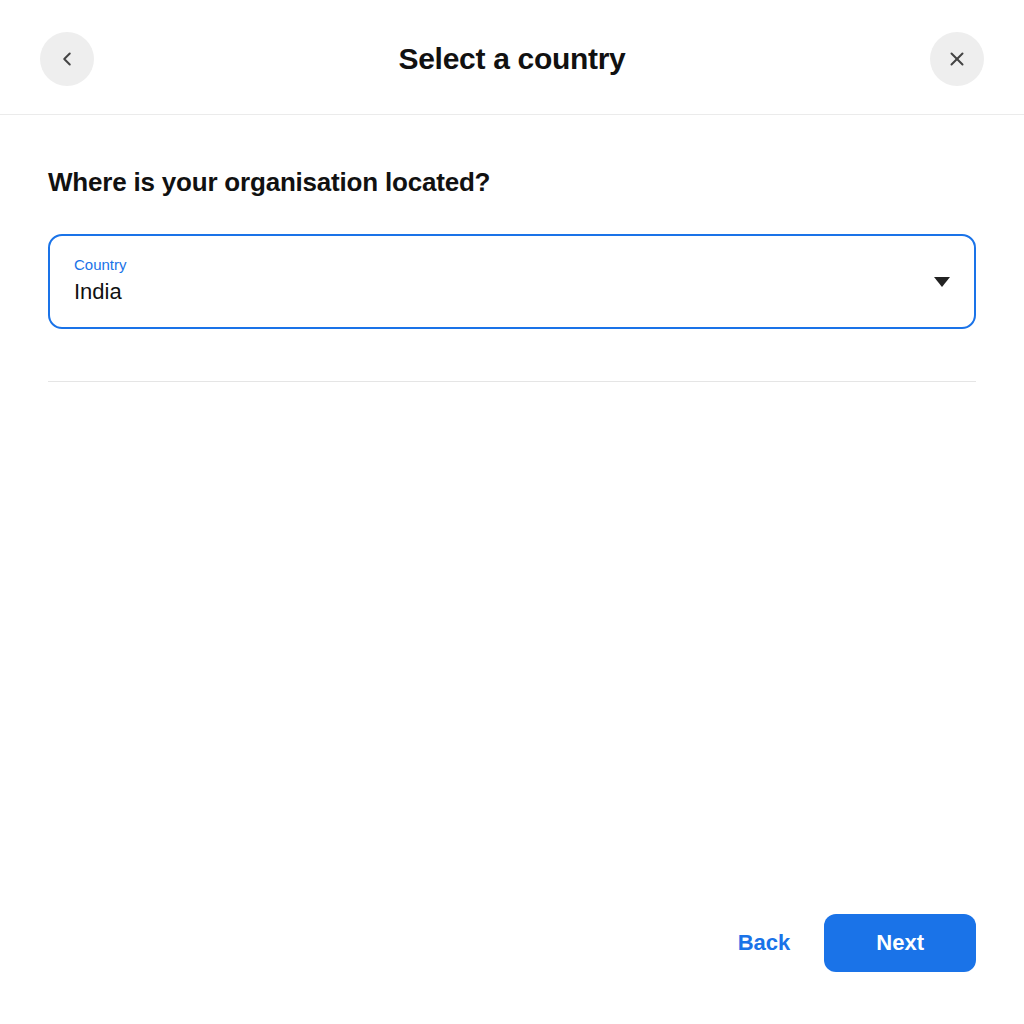
Choose the country where your business is mainly located or operates.
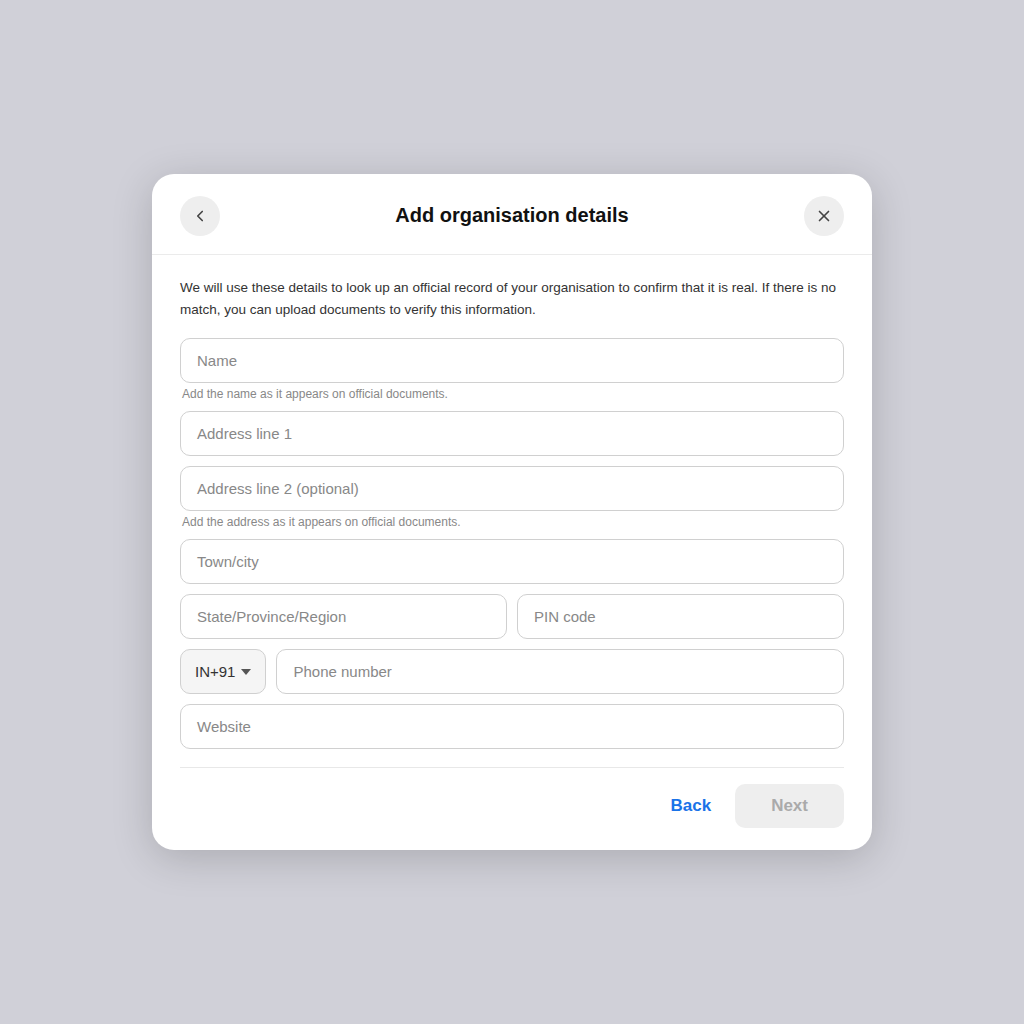
Fill in your organization details carefully to avoid any verification issues.
In the Business Name field, enter the exact legal name mentioned in your official documents.
For the Address, make sure it matches the address on your legal documents. Using a different address may delay or affect Facebook approval.
In the Address Line, include only your business location and avoid adding the city, state, or PIN code.
Example:
If your address is: 3013, Chandni Chowk, Sita Ram Bazar, Old Delhi, 110006
Then enter “3013, Chandni Chowk, Sita Ram Bazar” in the address field. Add Delhi under City/State and 110006 in the PIN code section.
Enter your City, State, and PIN Code in the respective fields, as shown in the image above.
In the Phone Number section, you do not need to add your WhatsApp Business API number. You can use any business contact number for Facebook communication.
Lastly, add your Website URL. Ensure your website displays the business’s legal name in the footer so Facebook can verify the connection with your registered business name.
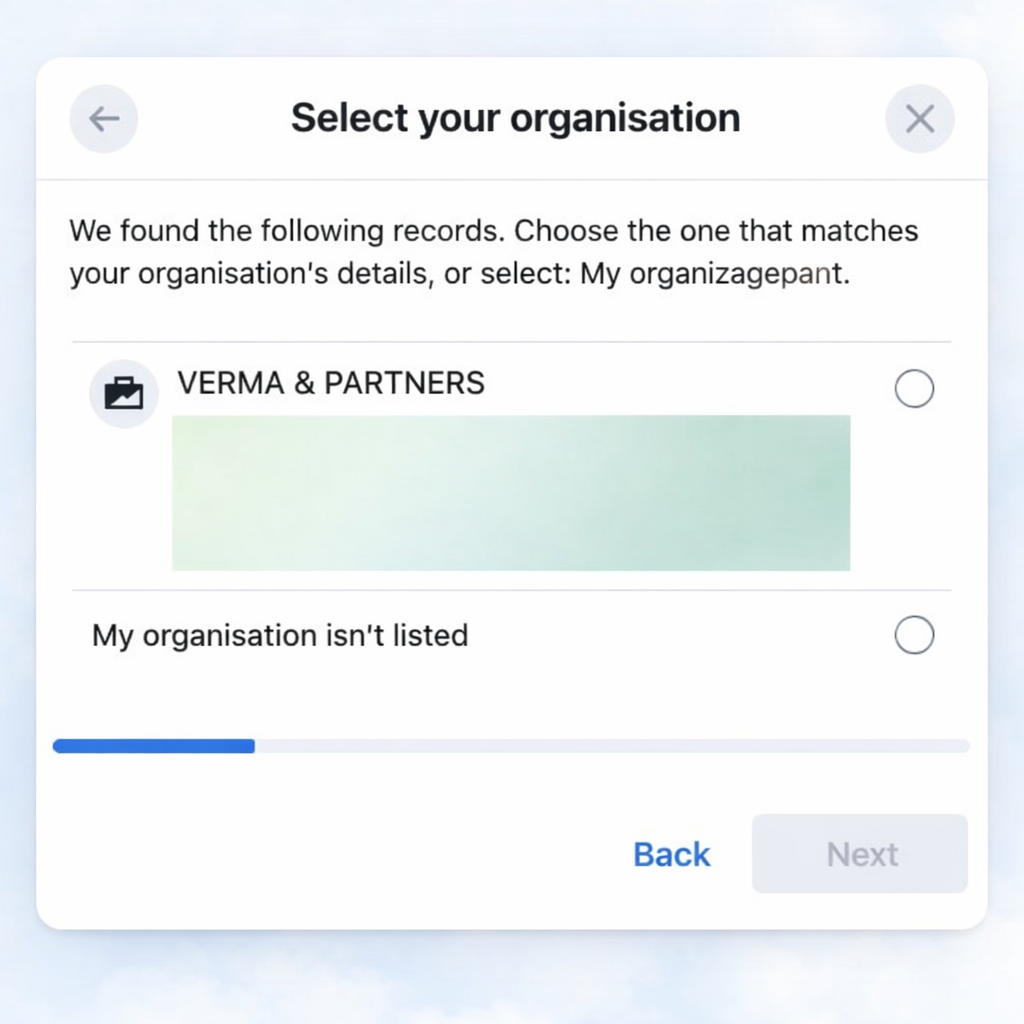
After submitting your business details, Facebook will display a list of companies that match the information provided.
Choose the company that exactly matches your business details. Make sure you have access to your business phone number, as it may be required for verification.
If your organization does not appear in the list, don’t worry. Simply click Organization Not Listed and continue to the next step.
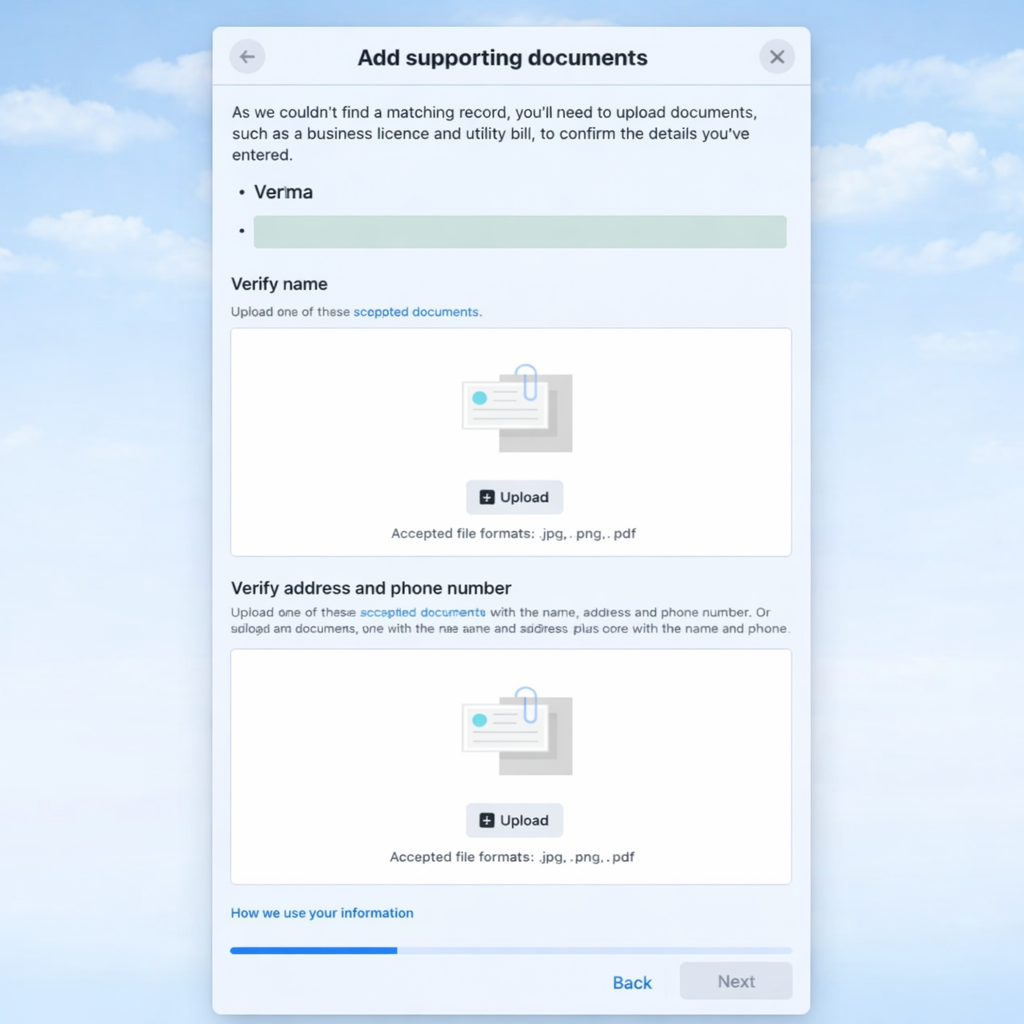
If your business was not listed in the previous step, you’ll need to upload supporting documents to verify your business.
To avoid delays or confusion during verification, make sure to upload the same document in both required sections.
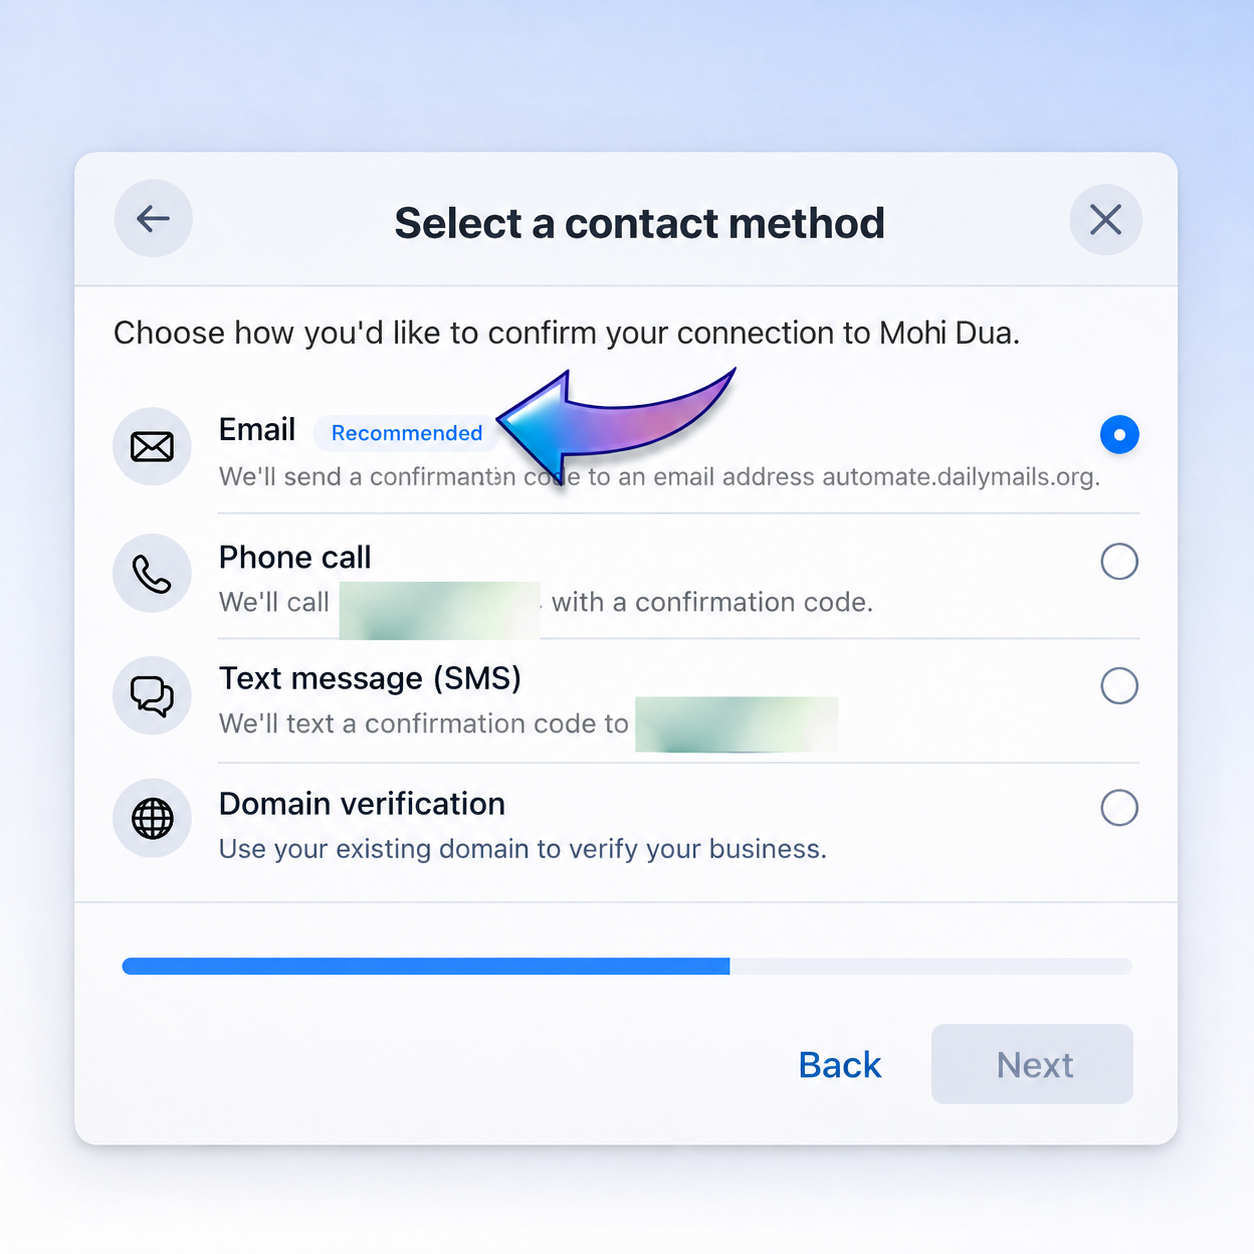
Note: Email is the recommended verification method and can improve your chances of approval.
Enter your official business email address using your company domain (for example: johnny@automate.dailymails.org) and click Next.
If you do not have a domain-based business email, you can choose Phone Call or Text Message as an alternative verification method.
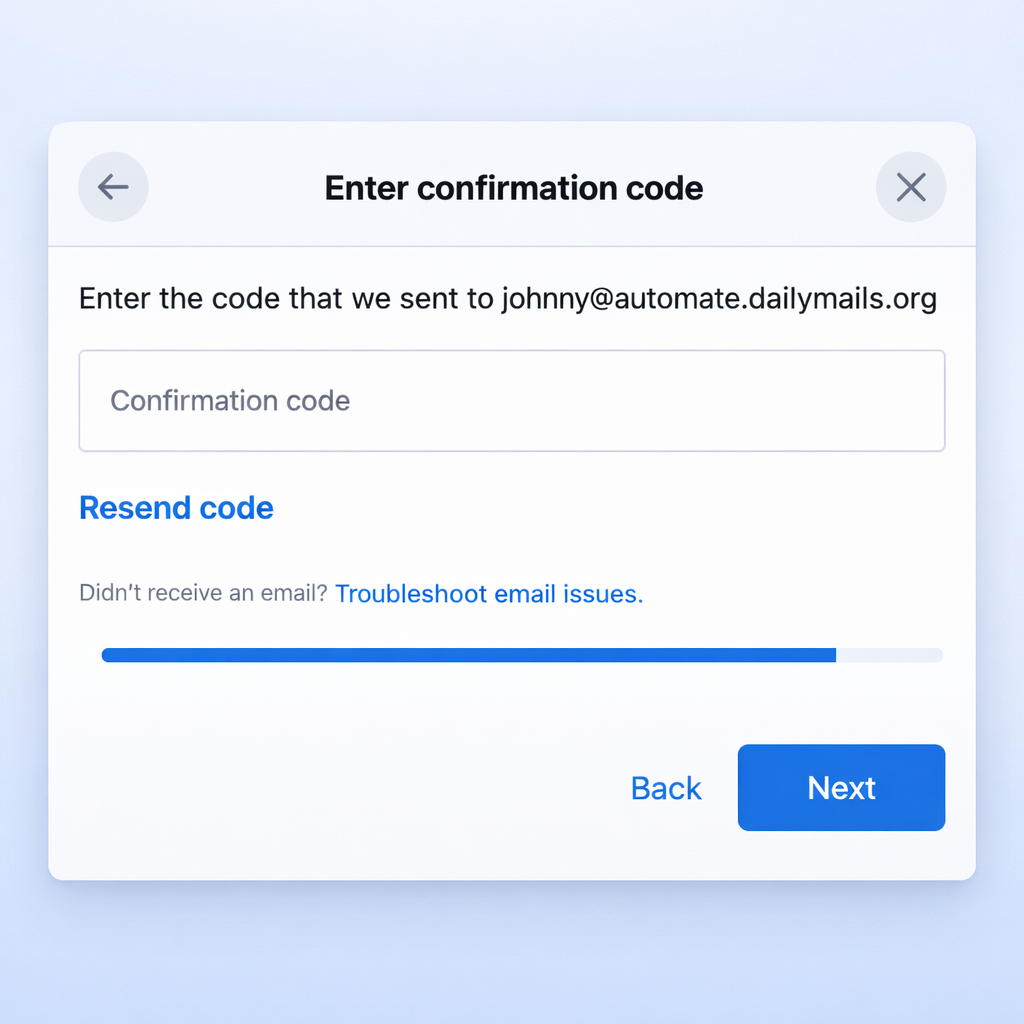
Finally, enter the verification code sent to your registered email address or the OTP received via text message or phone call to complete the process.